Polo Shirt Manufacturing Process, Step by Step
A buyer-friendly walkthrough of how a polo shirt is actually made — what happens at each stage, what can go wrong, and where your approvals sit in the flow.
1. Spec, tech pack and quotation
Production starts with paperwork, not machines: composition, GSM, colors, size chart, decoration positions, trims and packaging are fixed in the tech pack and quoted item by item. Ambiguity here becomes rework later, so this stage ends with a written specification both sides reference.
2. Fabric sourcing and lab dips
Knit fabric is ordered from qualified mills or produced to spec. Custom colors go through lab dips: small dye samples submitted against your Pantone or physical standard until one is approved. The approved dip is the shade reference for the bulk fabric lot.
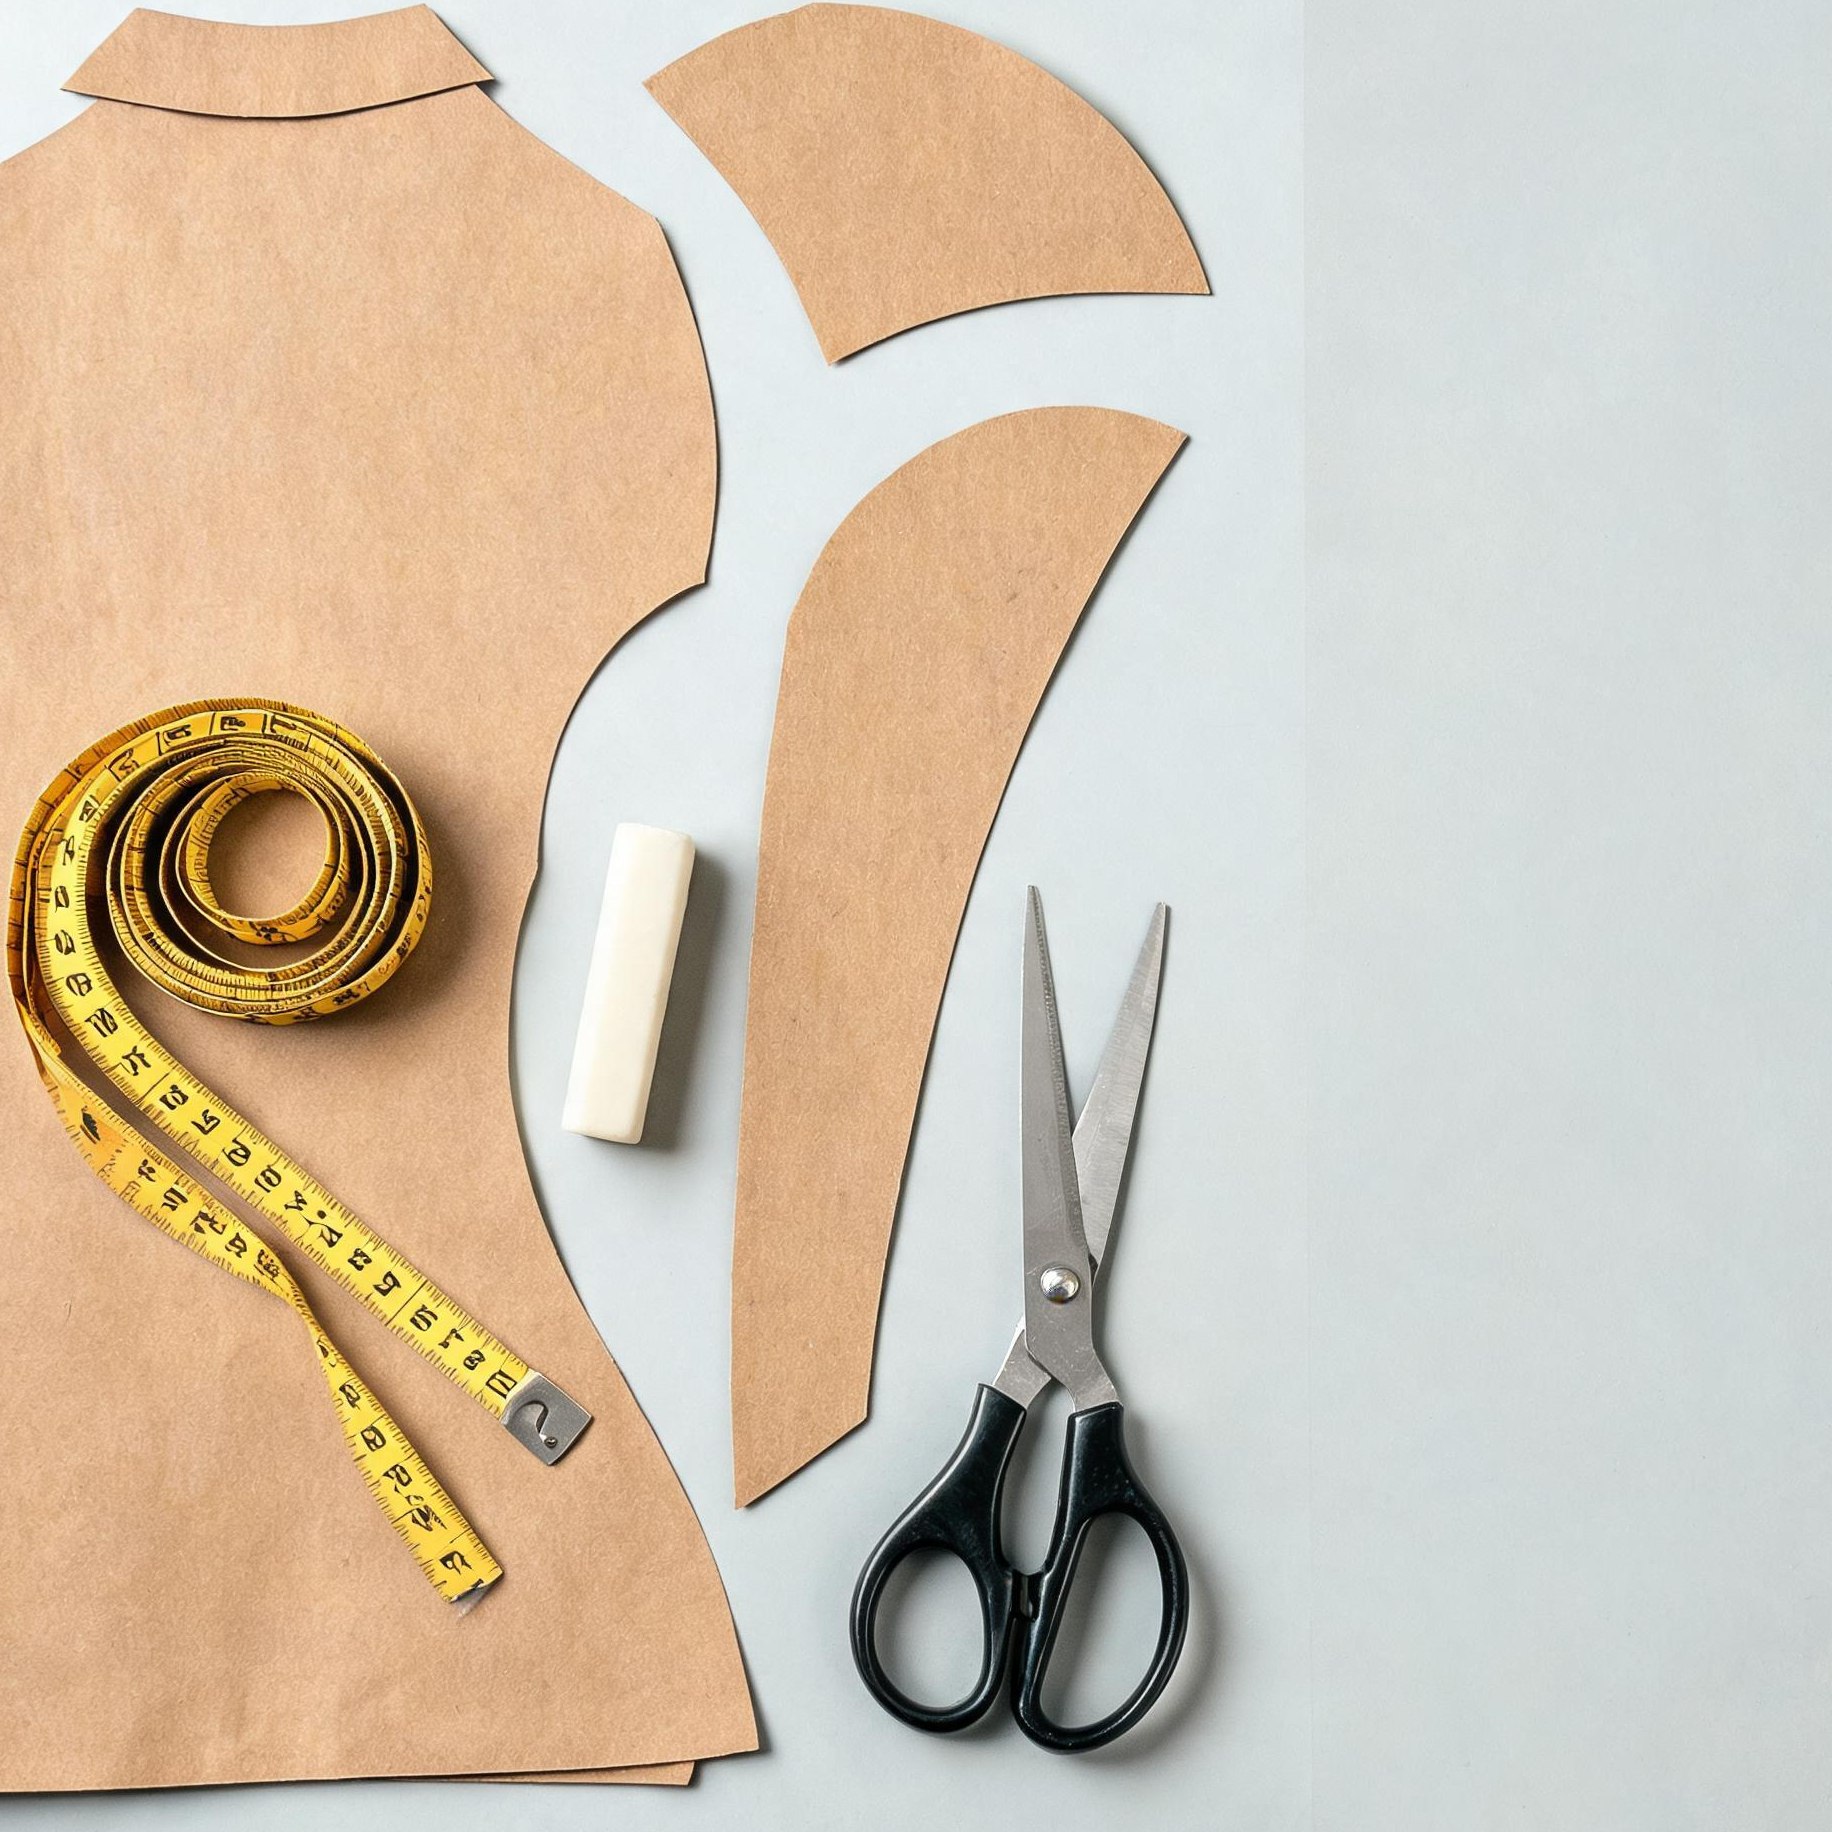
3. Pattern, grading and markers
The base-size pattern is made or adjusted from your block, then graded across the size set. Markers — the nesting of all pattern pieces across fabric width — are created to control waste, with special handling for stripes, directionality and knit grain.
4. Cutting and panel preparation
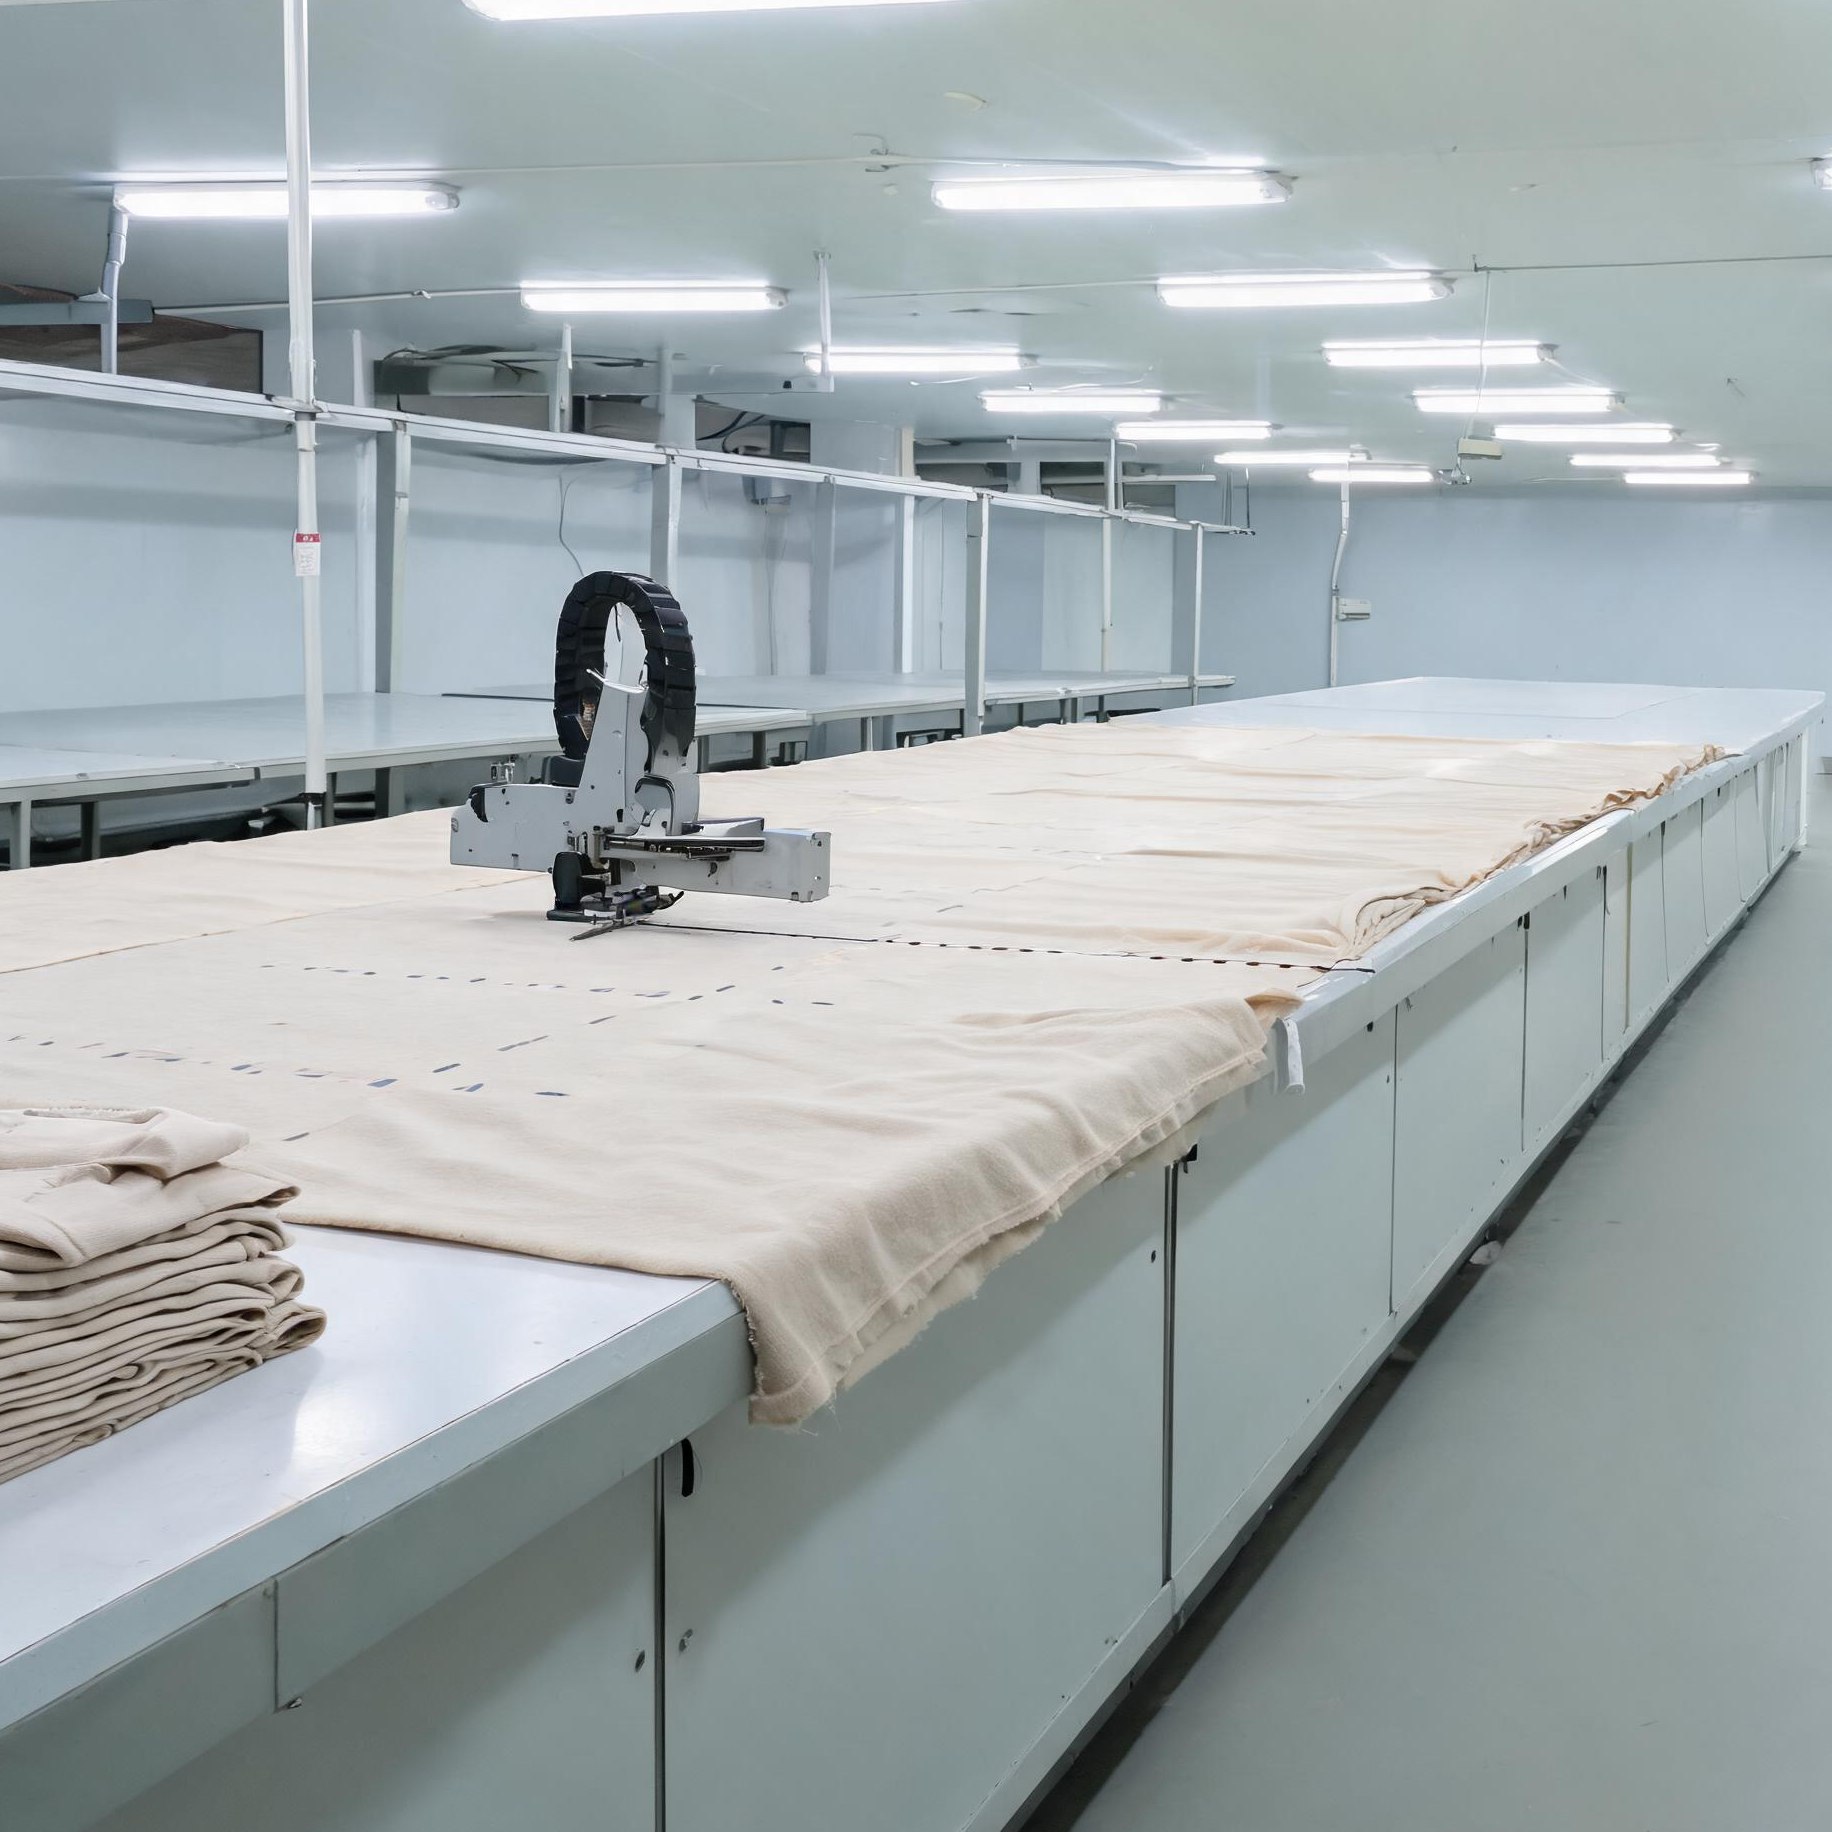
Relaxed fabric is spread in layers and cut against the marker. Panels are bundled by size, color and shade so pieces that should match stay together. Collar and placket panels — the signature elements of a polo — are cut and prepared separately.
5. Decoration on panels
Embroidery, screen printing, heat transfer and patches are applied to flat panels: chest logos, sleeve marks and back-neck branding. Flat decoration avoids distortion and keeps registration precise; a test sew-out is approved before multi-head production.
6. Sewing assembly
Assembly follows the logical build of the garment: collar construction and attachment, placket, shoulders, sleeves, side seams, hemming and cuffs, with label insertion at the assigned operation. Inline checkers verify workmanship at the operations most likely to create defects.
7. Trimming, pressing and measurement audit
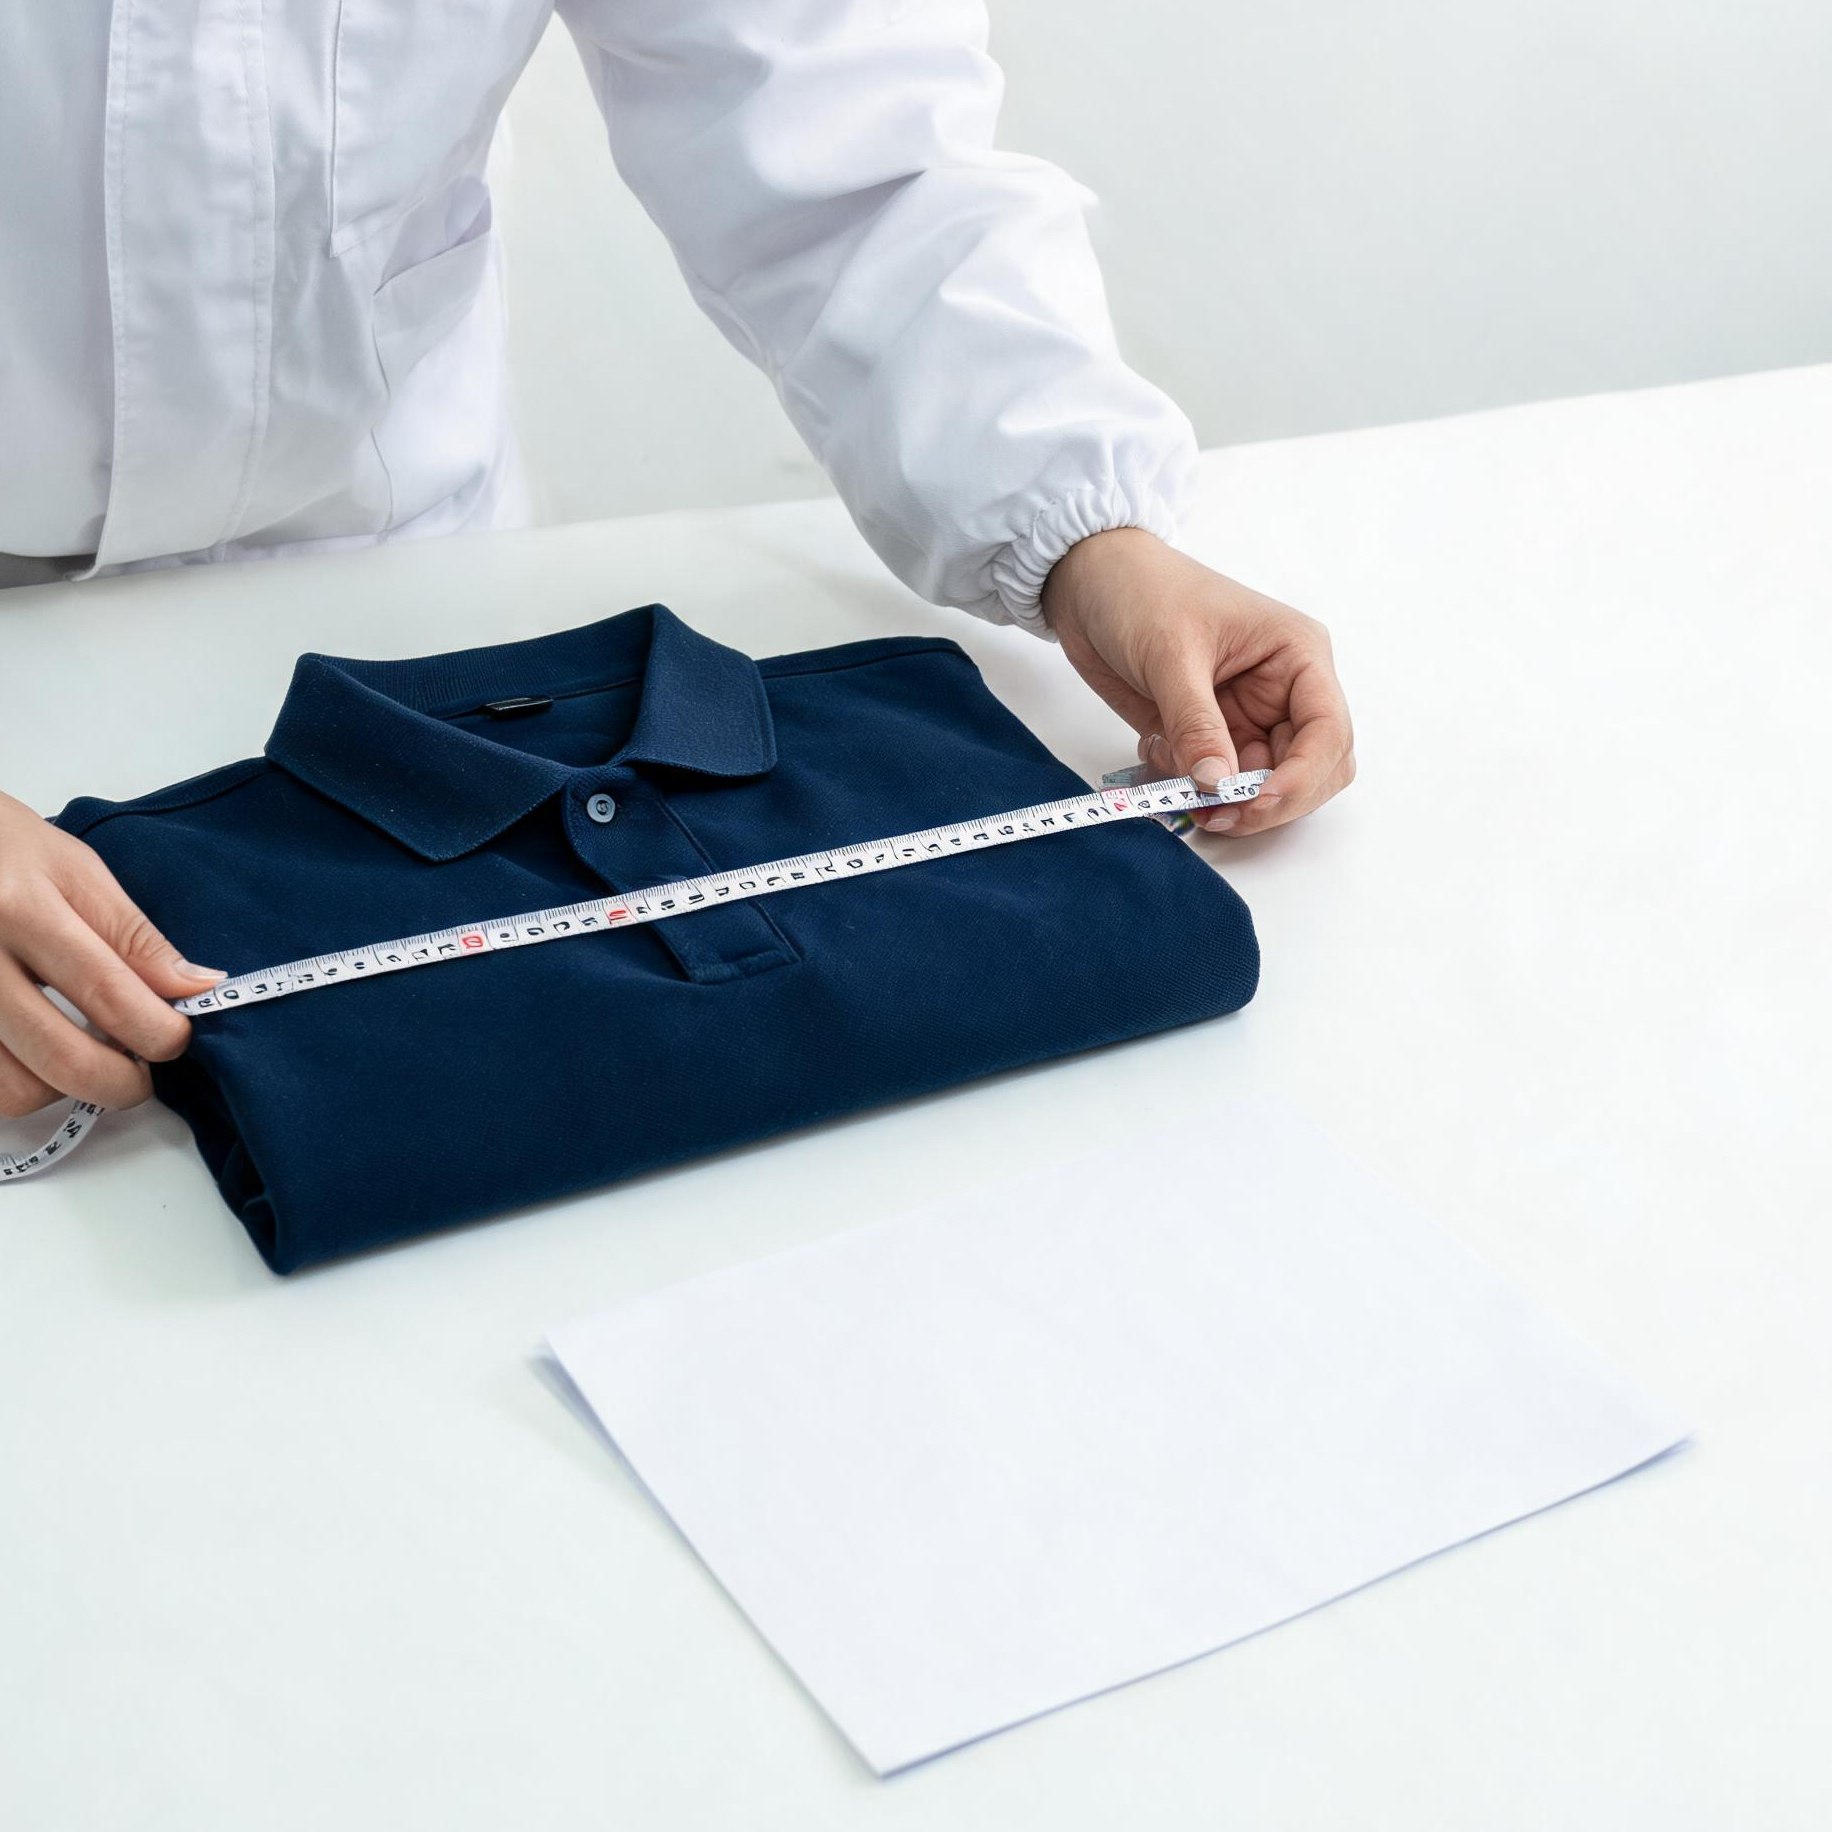
Threads are trimmed, garments checked for stains and pressing marks, then pressed. A first measurement audit compares finished garments against the approved spec chart before units move toward packing.
8. Final AQL inspection
Finished units are sampled statistically (typically AQL 2.5 major / 4.0 minor unless your standard differs) for workmanship, measurement and packing compliance. Results and photographs are shared before balance payment; failed lots are sorted, repaired or re-made.

9. Packing, documentation and handover
Approved goods are folded or hung, polybagged with required warnings, tagged, cartoned to the assortment list, sealed and marked. Invoice, packing list and required certificates are prepared, and cargo is handed to the named forwarder under the agreed trade term.
Continue: sample development in detail · quality control system · our production capabilities.
FAQ
Frequently Asked Questions
Straight answers to what apparel buyers ask before requesting a quotation.
How long does the whole process take from order to shipment?
At which step is my logo applied?
Can I inspect at a specific step?
What do I approve before bulk starts?
See where your project fits in this flow?
Send your RFQ and we will map your spec to the exact stages, approvals and calendar dates before any deposit is discussed.